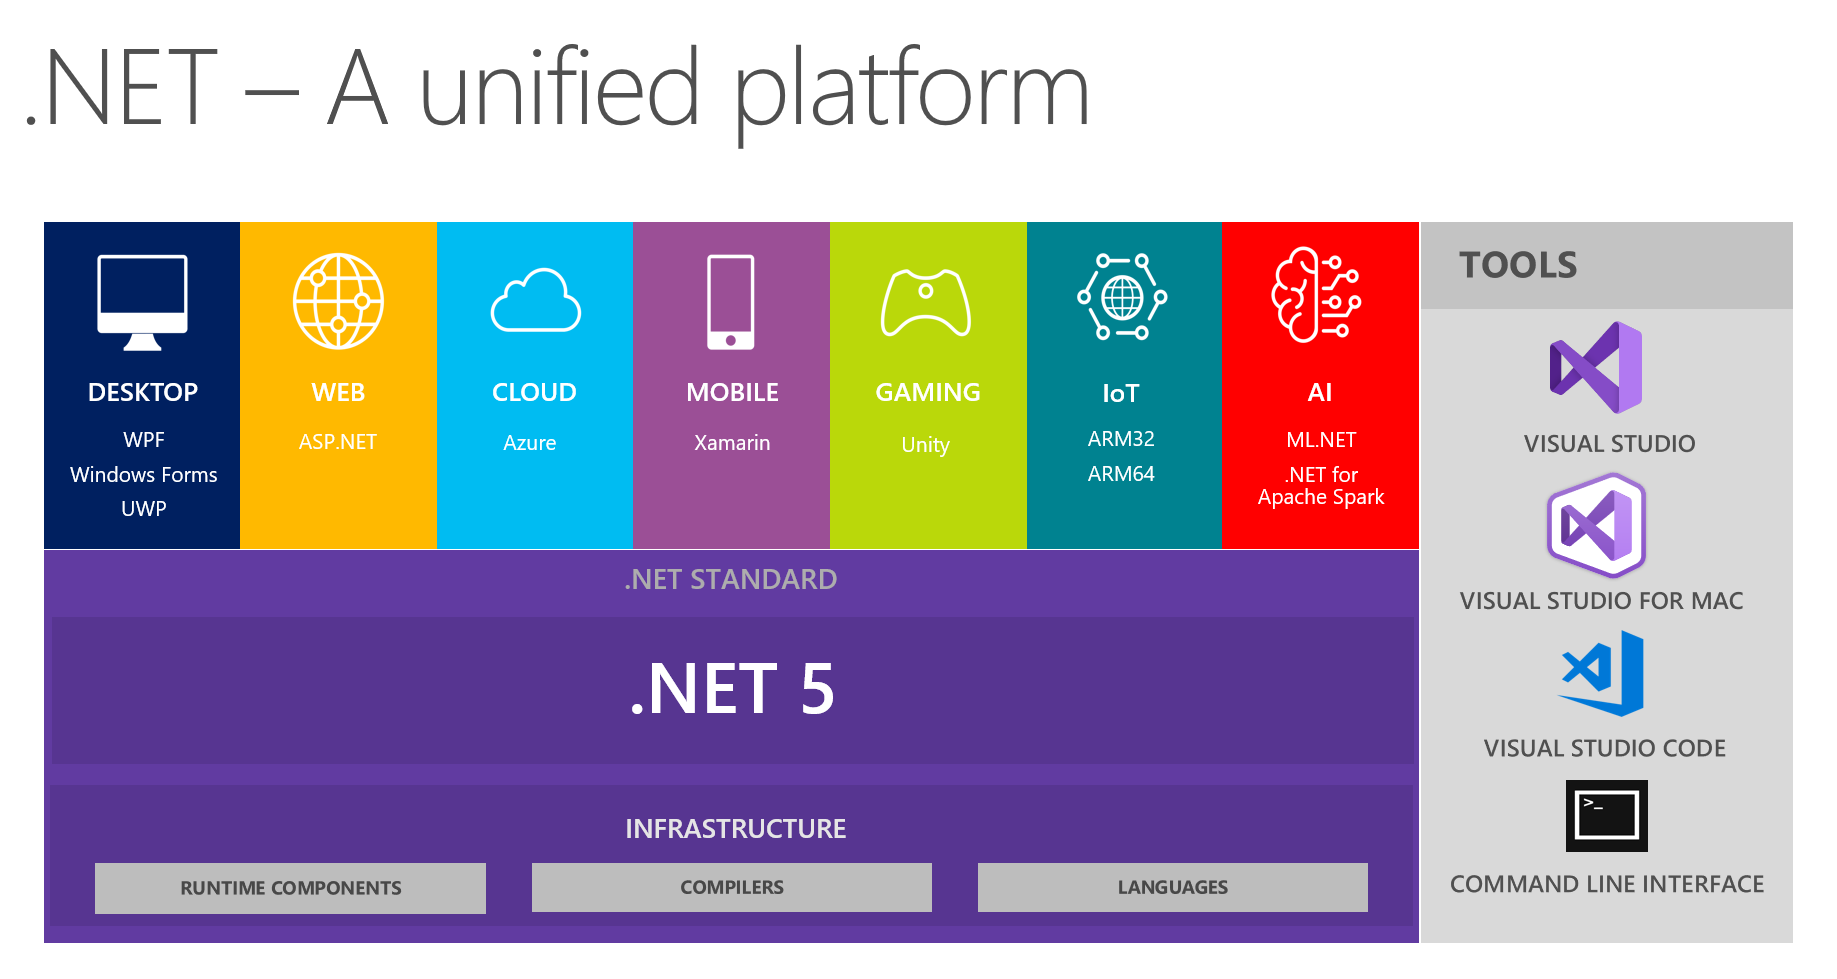


I'm continuing my series of deep dives into ASP.NET Core, on my never-ending quest to keep my coding career from becoming obsolete. In this part of the series, let's discuss a new feature in ASP.NET Core that will make debugging and testing much more intuitive and pain-free: Environments and Launch Settings.

ASP.NET Core includes the native ability to modify how an application behaves (and what it displays) based upon the environment it is currently executing in. This ends up being quite useful, since now we can do things as simple as not showing the error page to people using the application in a production environment. But it requires just a tiny bit of setup, and some knowledge of how environments are controlled.
The Sample Project
As with many of my code-focused posts, this one has a corresponding sample project over on GitHub. Check it out!

ASPNETCORE_ENVIRONMENT
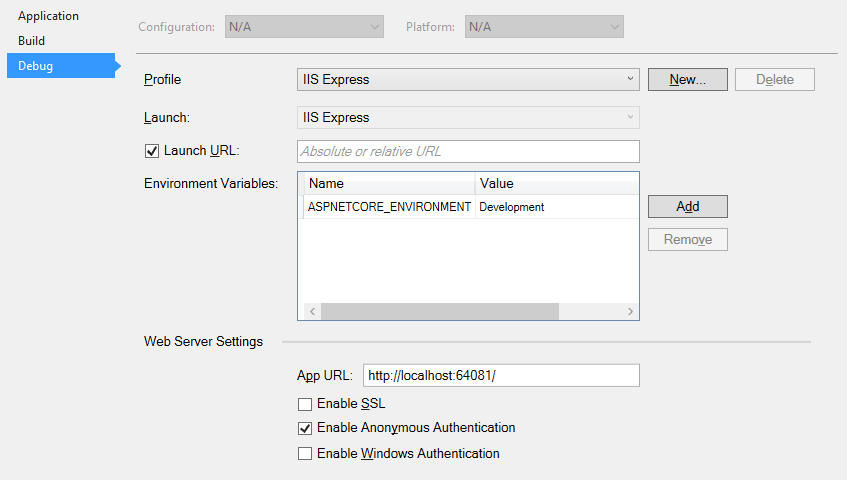
At the heart of all the stuff ASP.NET Core can do with environments is the ASPNETCORE_ENVIRONMENT environment variable. This variable controls what type of environment the current build will run in.
You can edit this variable manually by right-clicking your project file and selecting "Properties", then navigating to the "Debug" tab.
There are three "default" values for this variable:
- Development
- Staging
- Production
Each of those values corresponds to certain methods we can use in our Startup.cs file. In fact, the Startup.cs file includes several extension methods that make modifying our application based it's current environment quite simple.
Selecting an Environment
The Startup.cs file that every ASP.NET Core application needs does many things, not the least of which is setting up the environment in which the application runs. Here's a snippet of the default Startup.cs file that was generated when I created my sample project for this post:
// This method gets called by the runtime.
//Use this method to configure the HTTP request pipeline.
public void Configure(IApplicationBuilder app,
                      IHostingEnvironment env,
                      ILoggerFactory loggerFactory)
{
    loggerFactory.AddConsole(Configuration.GetSection("Logging"));
    loggerFactory.AddDebug();

    if (env.IsDevelopment())
    {
        app.UseDeveloperExceptionPage();
        app.UseBrowserLink();
    }
    else
    {
        app.UseExceptionHandler("/Home/Error");
    }

    app.UseStaticFiles();

    app.UseMvc(routes =>
    {
        routes.MapRoute(
            name: "default",
            template: "{controller=Home}/{action=Index}/{id?}");
    });
}
Notice the IHostingEnvironment variable. That variable represents the current environment in which the application runs, and ASP.NET Core includes four extension methods that allow us to check the current value of ASPNETCORE_ENVIRONMENT:
IsDevelopment()IsStaging()IsProduction()IsEnvironment()
Notice what we're setting up in the Startup.cs file: if the current environment is Development, we use the Developer Exception Page (which was formerly the Yellow Screen of Death) as well as enabling Browser Link in Visual Studio, which helps us test our application in several browsers at once.
But we don't want those features enabled in a Production environment, so instead our configuration establishes an error handling route "/Home/Error".
This is the coolest thing about this feature: you can decide what services are enabled for your application in each environment without ever touching a configuration file!
However, what if you need more environments? For example, at my day job we have up to four environments: Development, Staging, Production, and Testing, and very often I'll need to change application behaviors or display based on which environment it's currently running in. How do I do that in ASP.NET Core?
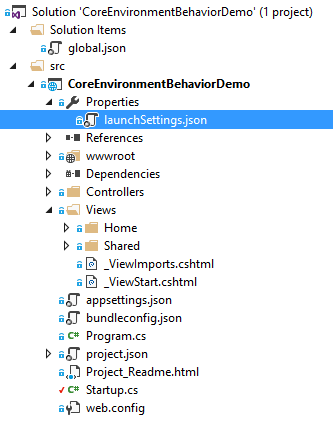
The launchSettings.json File
ASP.NET Core 1.0 includes a new file called launchSettings.json; in any given project, you'll find that file under the Properties submenu:
This file sets up the different launch environments that Visual Studio can launch automatically. Here's a snippet of the default launchSettings.json file that was generated with my demo project:
{
  "profiles": {
    "IIS Express": {
      "commandName": "IISExpress",
      "launchBrowser": true,
      "environmentVariables": {
        "ASPNETCORE_ENVIRONMENT": "Development"
      }
    },
    "CoreEnvironmentBehaviorDemo": {
      "commandName": "Project",
      "launchBrowser": true,
      "launchUrl": "http://localhost:5000",
      "environmentVariables": {
        "ASPNETCORE_ENVIRONMENT": "Development"
      }
    }
  }
}
At the moment we have two profiles: one which runs the app using IIS Express and one which runs the app using a command-line handler. The interesting thing about these two profiles is that they correspond directly to the Visual Studio play button:
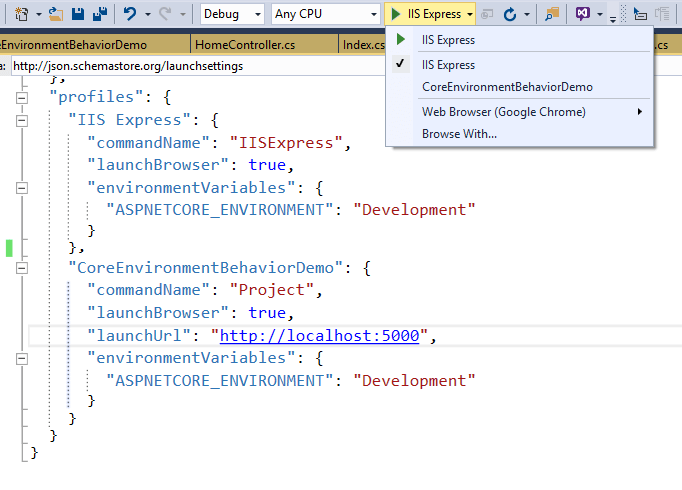
In other words: the launchSettings.json file controls what environments you can run your app in using Visual Studio. In fact, if we add a new profile, it automatically adds that profile to the button, as seen on this GIF I made:
All this together means that we can run the app in multiple different environment settings from Visual Studio, simply by setting up the appropriate launch profiles.
The Environment Tag Helper
Quite a while ago I wrote a post about Tag Helpers and how awesome they are, and I want to call out a particular helper in this post: the <environment> tag helper.
With this helper, we can modify how our MVC views are constructed based upon which environment the application is currently running in. In fact, the default _Layout.cshtml file in Visual Studio 2015 comes with an example of this:
<environment names="Development">
    <script src="~/lib/jquery/dist/jquery.js"></script>
    <script src="~/lib/bootstrap/dist/js/bootstrap.js"></script>
    <script src="~/js/site.js" asp-append-version="true"></script>
</environment>
<environment names="Staging,Production">
    <script src="https://ajax.aspnetcdn.com/ajax/jquery/jquery-2.2.0.min.js"
            asp-fallback-src="~/lib/jquery/dist/jquery.min.js"
            asp-fallback-test="window.jQuery">
    </script>
    <script src="https://ajax.aspnetcdn.com/ajax/bootstrap/3.3.6/bootstrap.min.js"
            asp-fallback-src="~/lib/bootstrap/dist/js/bootstrap.min.js"
            asp-fallback-test="window.jQuery && window.jQuery.fn && window.jQuery.fn.modal">
    </script>
    <script src="~/js/site.min.js" asp-append-version="true"></script>
</environment>
In this sample, when we run the app in Development mode we use the local files for jQuery, Bootstrap, and our custom Javascript; but if we're running in the Staging or Production environments, we use copies of those libraries files found on the ASP.NET content delivery network (CDN). In this way, we improve performance, because a CDN can deliver these static files from one of many centers around the globe, rather than needing to round-trip all the way to the source server to get those files.
But, remember, in our sample we have the custom environment Testing. The environment tag helper also supports custom environments:
<div class="row">
    <environment names="Development">
        <span>This is the Development environment.</span>
    </environment>
    <environment names="Testing">
        <span>This is the Testing environment.</span>
    </environment>
    <environment names="Production">
        <span>This is the Production environment.</span>
    </environment>
</div>
Summary
Working with environments (both default and custom) gets a whole lot easier in ASP.NET Core, and with the new Launch Settings feature, getting the app started in different environment modes is a breeze! Using these features, we can:
- Create and use custom environments.
- Enable or disable application services based on the environment the app is running in.
- Use the environment tag helper (
<environment>) to modify our MVC views based on the current execution environment.
You can check out my sample project over on GitHub to see this code in action. Feel free to mention any cool tips and tricks you've found when dealing with environments and launch settings in the comments!
Happy Coding!